Triggers
This tutorial will walk you through the concept of triggers and how to use them.
- What are triggers?
- Deeper look at Context
- Creating a trigger
- Example 1: User join trigger (welcome message)
- Example 2: Member muted trigger
- Editing and viewing source code
- Viewing active triggers for event type
- Setting debug output
What are triggers?
A trigger is an event that happens within your guild that notifies the bot. There are many of these events such as messages or channels being created or new members joining. A select few of these events are exposed to you by the bot so that you can execute your own code when it happens.
Currently there is a limit of 3 triggers enabled per event type.
Deeper look at Context
In the previous tutorials we have been making use of the builtin context variable that contained things like the Member who ran the command or the Inputs passed in to the command. There are other elements of the context that are populated differently depending on which trigger is running. For example, let’s look at some possibilities.
Member runs a command with inputs
In this situation, you could expect context.Guild to contain info about your server, context.Member to contain the member who ran the command, context.Channel to contain the channel it was being run in, and context.Inputs to have the command inputs.
Other parts of the context would be empty such as context.Message, context.AuditEntry and context.Interaction.
New member joins
In this situation, you could expect context.Guild to contain info about your server and context.Member to contain the member who just joined.
The rest of the context would be empty in this case since things like context.Channel wouldn’t make sense. The user joined the entire sever, not just a specific channel.
Member muted
In this situation, you could expect context.Guild to contain info about your server and context.Member to contain the member who was just muted. Other information would also be available in the form of context.AuditEntry. This contains things like the moderator who performed the action, the target member, the reason and the time when it expires.
Creating a trigger
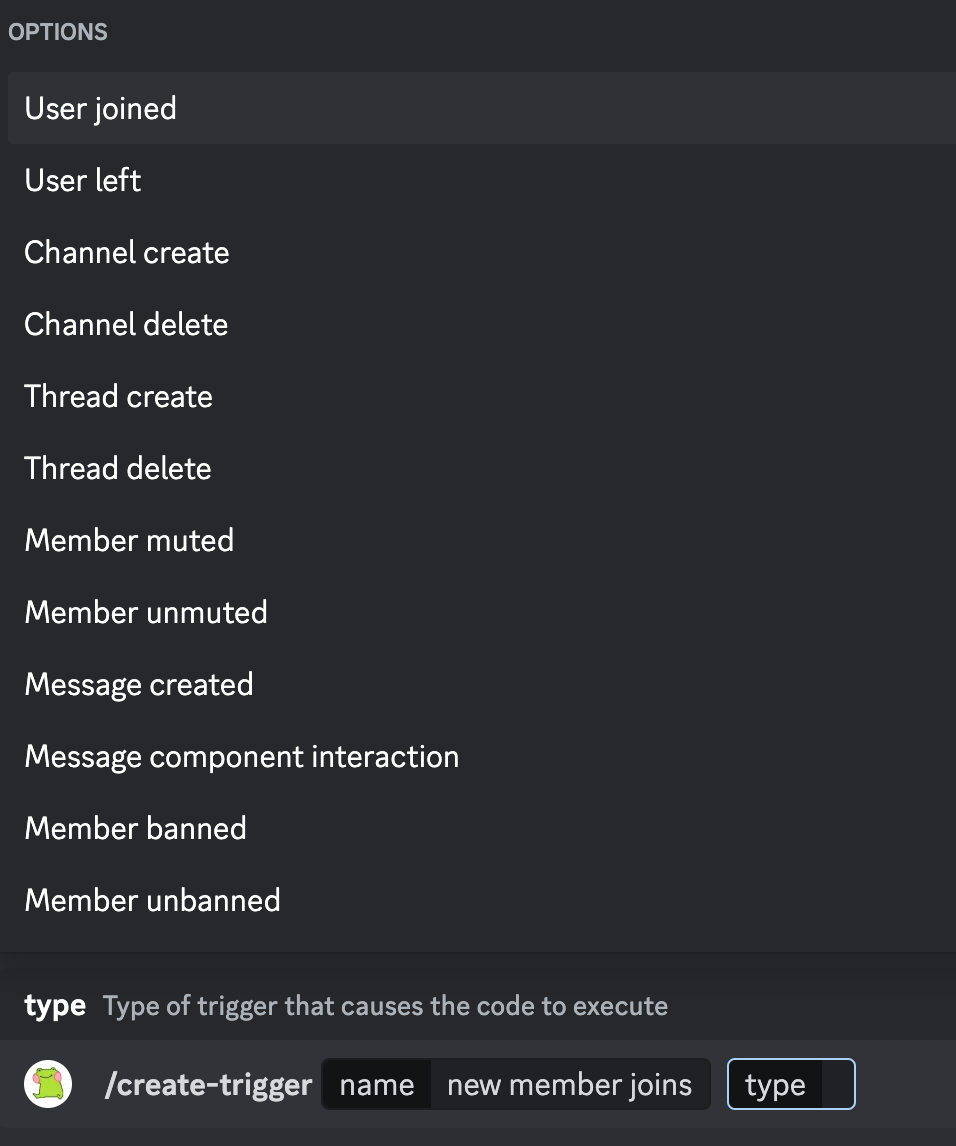
Creating and deleting a trigger is done with /create-trigger and /delete-trigger. Here is an example of what you might see when running create:

Each one in the list is an event type, and as mentioned in the beginning of this tutorial you can have 3 active triggers per event type. The one you select determines when your trigger’s code will be run.
Example 1: User join trigger (welcome message)
For this example we will create a new trigger that welcomes new users and prints out the number of guild members. This is the code that can be placed into the editor when using /create-trigger (replace the channel ID with your own welcome channel ID):
{{$welcomeChannel := 1045140312282103848}}
{{$user := context.Member.User}}
{{$guild := context.Guild}}

{{$greeting := (printf "Welcome, %s! There are now %d members." $user $guild.MemberCount)}}
{{sendMessage $welcomeChannel $greeting}}
Notice that we use sendMessage instead of the usual respond. The reason is that respond is used to reply via webhook to the user running a slash command or interacting with something like a button, but for other triggers we need to send messages manually to a specific channel.
Example 2: Member muted trigger
This trigger will post a message into some sort of private mod channel whenever someone is muted. It will contain information about the moderator, member muted, and reason for the mute.
{{$modChannel := 1044693883159842906}}

{{$user := context.Member.User}}
{{$moderator := context.AuditEntry.Moderator.User}}
{{$reason := context.AuditEntry.Reason}}

{{$message := printf "%s was muted by mod %s (ID: %d).\nReason: %s"
    $user.Username $moderator.Username $moderator.ID $reason
}}
{{sendMessage $modChannel $message}}
Editing and viewing source code
Triggers share the same name space as slash commands, so it is not allowed to have a duplicate name as both a trigger and a command. This has the side effect of making it much easier to view and edit source code since the same two commands can handle all types.
/set-source name allows you to open the editor for either a slash command or trigger.
/view-source name allows you to view the source code for a slash command or trigger without going into edit mode.
Viewing active triggers for event type
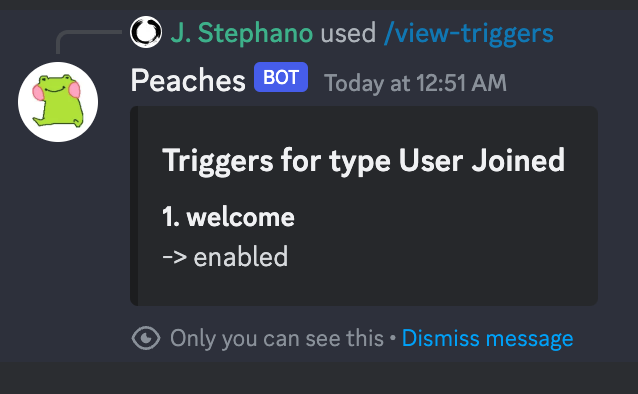
If you ever wonder how many triggers you have setup for an event type or what their names are, you can use the /view-triggers command. The output will look something like this:

Setting debug output
It’s strongly recommended that you set a debug output channel when creating and editing triggers. This will allow the bot to post any error messages related to issues it runs into while trying to execute your code to make it easier for you to figure out the problem. To do this, run the /set-debuglog command.